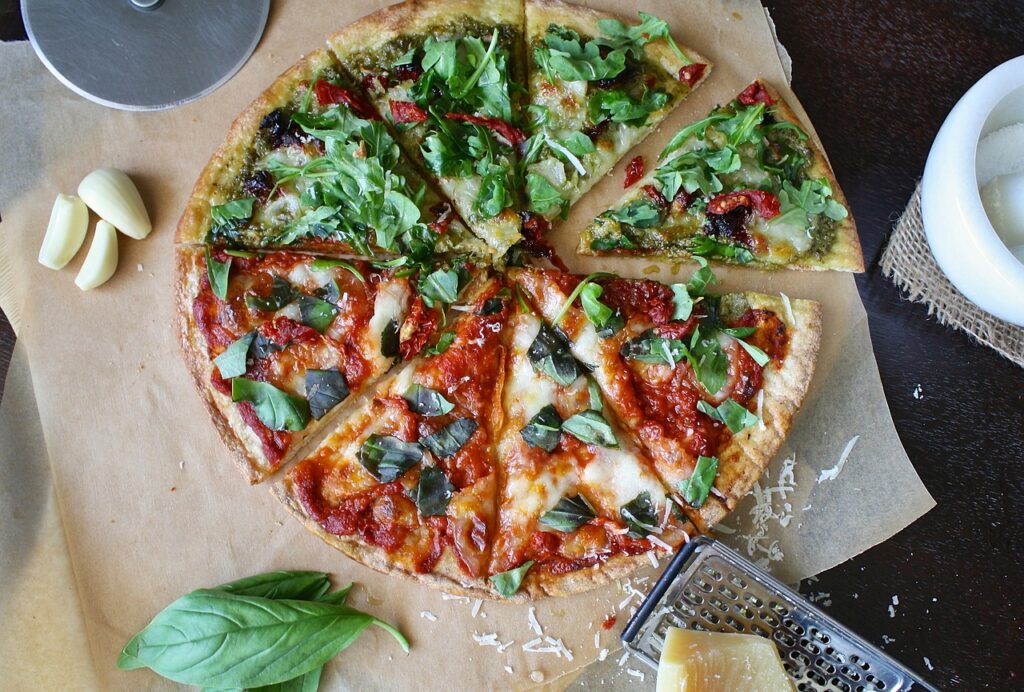
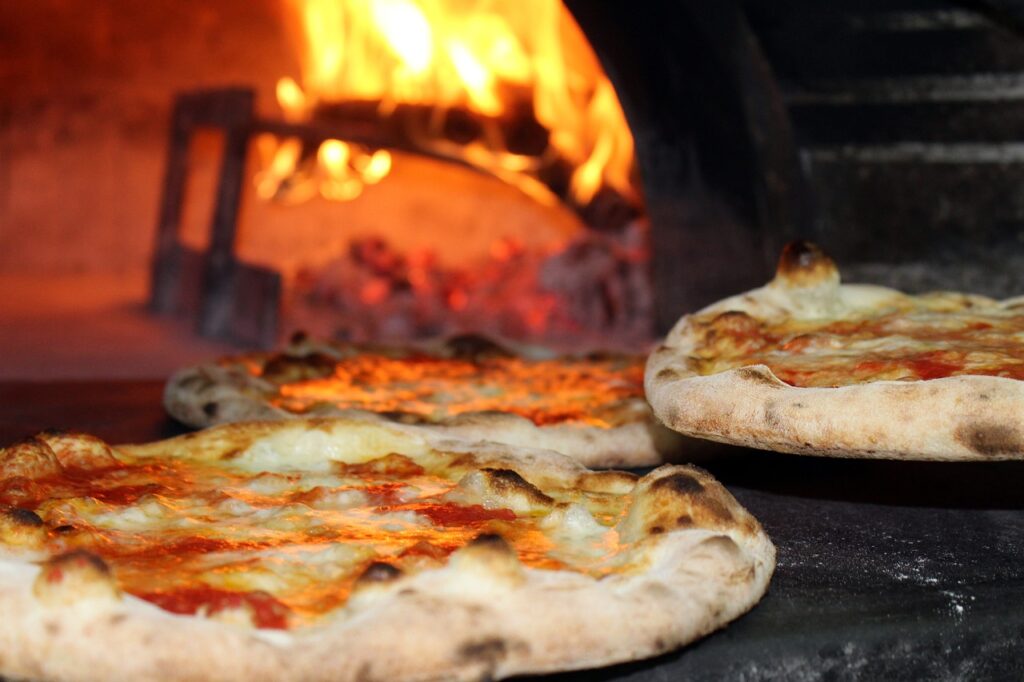
You’re in for a treat! In the video “How to Make a No-Knead Thin Crust Pizza with Helen Rennie,” Helen walks you through the step-by-step process of creating a delicious pizza with a thin and crispy crust. She shares her tips and tricks for making the dough by hand or with a stand mixer, preparing the sauce, preheating the oven, stretching the dough, adding the toppings, and baking the pizza to perfection. The video also includes helpful information on buying and using mozzarella cheese, preventing sogginess, browning the cheese, and reducing greasiness. Whether you’re a pizza aficionado or a beginner in the kitchen, this easy and accessible recipe will have you enjoying a mouthwatering pizza in no time. So grab your ingredients and get ready to impress your friends and family with your homemade no-knead thin crust pizza masterpiece!
How to Make a No-Knead Thin Crust Pizza with Helen Rennie

Get the best selling pizza oven online here!
Preparing the Dough
Ingredients for the Dough
To make the no-knead thin crust pizza dough, you will need the following ingredients:
- 226 grams of unbleached all-purpose flour
- 1 tsp SAF instant yeast (or 1 and 1/4 tsp active dry yeast)
- 1 tsp sugar
- 1 tsp table salt
- 158 grams of water at 70-90F (21-32C)
- 20g olive oil divided between 2 containers of 2 cup capacity each (10g per container)
Mixing and Kneading the Dough
There are two methods for mixing and kneading the dough: by hand or with a stand mixer.
Dough Preparation by Hand
- In a medium bowl, whisk together the flour, instant yeast, sugar, and salt.
- Create a well in the center of the dry ingredients and pour in the water.
- Stir the mixture with a spoon until the flour is moistened and the dough starts to form.
- Use your hands to knead the dough lightly until it is just combined. Avoid over-mixing.
- The dough will be sticky and rough-looking, not silky smooth.
Dough Preparation with a Stand Mixer
- Mix all the dry ingredients by hand in the bowl of a stand mixer.
- Fit the stand mixer with a paddle attachment and run it on low speed.
- Gradually add the water while the mixer is running.
- Mix until the dough starts to form and no dry flour remains.
- Scrape down the bowl and mix for a few more seconds to ensure all the ingredients are well-mixed.
Refrigerating the Dough
- Once the dough is mixed and kneaded, cut it in half with a pastry scraper to form two equal portions.
- Roll each piece into a rough ball and place it into a container with olive oil.
- Use an oiled hand to flatten the top of the dough.
- Cover the containers tightly and let the dough rise at room temperature for 45 minutes.
- After the initial rise, refrigerate the dough overnight or for up to 5 days.
- The dough should roughly double in size before shaping.
Making the Sauce
Ingredients for the Sauce
To make the sauce for your no-knead thin crust pizza, gather the following ingredients:
- 2 tbsp olive oil
- 1 yellow onion, diced
- A pinch of chili flakes
- 2 garlic cloves, minced
- 750g of diced or crushed tomatoes (canned or boxed)
- 1/2 cup dry white wine
- Salt to taste
Cooking the Sauce
- Set a small saucepan over medium heat and add the olive oil.
- Add the diced yellow onion, chili flakes, and a pinch of salt to the saucepan.
- Cook the mixture, stirring occasionally, until the onions are translucent.
- Add the minced garlic to the pan and cook until it starts to brown.
- Pour in the diced or crushed tomatoes and the dry white wine.
- Bring the mixture to a simmer and let it cook until it thickens, which usually takes about 30 minutes.
- Use a food processor or blender to puree the sauce until no big chunks remain.
- Taste the sauce and add salt as needed.
- Allow the sauce to cool completely before using.
- The sauce can be kept in the refrigerator for up to 5 days.
Use this to craft your next great pizza
Preheating the Oven
Setting the Oven Temperature
- Set the oven rack to the lowest level and place a pizza stone or steel on it.
- Preheat the oven to 500F (260C) for at least 30 minutes before baking the pizza.
Using a Pizza Stone or Steel
Using a pizza stone or steel helps to create a crisp and evenly baked crust. Place the stone or steel in the oven while it’s preheating to ensure that it becomes hot and ready for baking the pizza.
Stretching the Dough
Preparing the Parchment Paper
- Cut a piece of parchment paper into a size that fits your pizza stone or steel.
- Lightly oil the parchment paper to prevent the dough from sticking.
Shaping and Stretching the Dough
- Take one portion of the refrigerated dough and let it come to room temperature for about 30 minutes.
- Dust the dough with flour and transfer it to the oiled parchment paper.
- Using your fingertips, gently press the dough out into a rough circle, leaving a slightly thicker edge for the crust.
- Carefully stretch the dough by placing your hands on top and gently pulling it towards the edges, rotating the dough as you go.
- Continue stretching the dough until it reaches your desired thinness and size.

Topping the Pizza
Choosing Toppings
When it comes to selecting toppings for your no-knead thin crust pizza, the possibilities are endless. Some popular options include:
- Tomato sauce
- Shredded mozzarella cheese
- Pepperoni
- Sliced bell peppers
- Diced onions
- Sliced black olives
Feel free to get creative and add your favorite toppings to customize your pizza to your liking.
Spreading the Sauce
- Spoon a thin layer of tomato sauce onto the stretched dough, leaving a small border for the crust.
- Use the back of the spoon to spread the sauce evenly across the surface of the dough.
Adding Cheese and Other Toppings
- Sprinkle the shredded mozzarella cheese over the sauce, covering the entire pizza.
- Add any additional toppings you desire, such as pepperoni, bell peppers, onions, or olives.
- Be mindful not to overload the pizza with too many toppings, as this can prevent it from cooking evenly.
Baking the Pizza
Transferring the Pizza to the Oven
- Slide a rimless baking sheet or a peel under the parchment paper with the topped pizza.
- Carefully transfer the pizza and parchment paper onto the preheated pizza stone or steel in the oven.
Baking Time and Temperature
- Bake the pizza at 500F (260C) for approximately 8 minutes, or until the crust is nicely browned around the edges and underneath.
- Keep an eye on the pizza to ensure it doesn’t overcook. The exact baking time may vary depending on your oven and desired level of crispiness.

Choosing and Using Mozzarella Cheese
Selecting Whole Milk Mozzarella
For the best results, it is recommended to use low-moisture whole milk mozzarella cheese for your no-knead thin crust pizza. This type of mozzarella melts beautifully and provides a rich and creamy flavor.
Grating or Shredding the Cheese
To prepare the mozzarella cheese for topping your pizza, you can either grate it or shred it into small pieces. Both methods will result in melted and gooey cheese. Choose the method that is most convenient for you.
Serving the Pizza
Slicing the Pizza
Once the pizza is removed from the oven, use a pizza cutter or a sharp knife to slice it into individual portions. Traditional triangular slices are a popular choice, but you can also get creative and cut the pizza into squares or other shapes.
Serving Immediately
No-knead thin crust pizza is best enjoyed immediately after baking. Serve the slices to your eager guests while the crust is still hot and crispy, and the cheese is perfectly melted.
Tips for Perfect Crust and Cheese
To achieve the best results with your no-knead thin crust pizza, consider the following tips:
- Preheat your oven and pizza stone or steel for at least 30 minutes to ensure a hot cooking surface.
- Don’t overload the pizza with toppings, as this can lead to a soggy crust. Keep the toppings light and evenly distributed.
- Be mindful of the cooking time and temperature. Aim for a crispy but not burnt crust and melted cheese.
- Experiment with different toppings and flavor combinations to find your favorite pizza creation.
- Allow the pizza to cool slightly before slicing to prevent the cheese from sliding off.
Grilling Pizza
If you prefer to grill your pizza instead of baking it in the oven, you can do so by following these steps:
- Preheat your grill to medium-high heat.
- Stretch and shape the pizza dough as described earlier.
- Lightly oil the dough and place it directly on the grill grates.
- Cook the dough for a few minutes on each side until it starts to bubble and grill marks appear.
- Remove the grilled dough from the grill and transfer it to a cutting board.
- Add your desired toppings and return the pizza to the grill for a few more minutes until the cheese is melted.
- Once the pizza is cooked to your liking, remove it from the grill, slice, and serve.
Grilling pizza adds a unique smoky flavor to the crust and can be a fun alternative to traditional oven baking.
Links to Culinary Tutorials and Online Cooking Classes
For more culinary tutorials and online cooking classes, be sure to check out Helen Rennie’s online resources and classes. Helen provides valuable tips and tricks to help you become a master in the kitchen. Explore her website for more information and access to a wide range of culinary resources.
Remember, making a no-knead thin crust pizza is an enjoyable and delicious experience. With the right ingredients, techniques, and a little creativity, you can create a pizza masterpiece that will impress your family and friends. So grab your apron, preheat your oven or fire up your grill, and get ready to enjoy a slice of homemade pizza perfection.
